| IRM.Net Topics | |
|---|---|
|
Install Version 3 on 2003 Server |
|
First-time Installation Steps for 2003 Data Server
Click here for 2008 server installation steps.
- Log into the IRM server as the administrator.
- Ensure the server meets with RDP's Hardware Requirements.
- SSL Certificate is required for IRM.Net Version 3.
- Secure connection (Https), required to view the following pages: RESENTRY, LOGIN, MONITOR & OWNERHOME.
- Customers must add/change the following secure links to their marketing site for Owners, Groups and travel agents.
The monitor also needs to be started with a secure link when viewed from another computer besides the IRMNet server.
- https://irm.resortdata.com/IRMNet3/ownerhome.aspx
- https://irm.resortdata.com/IRMNet3/Login.aspx
- https://irm.resortdata.com/IRMNet3/monitor.aspx
- Install the most recent RDP-DOS update (00565 or higher as of 1/20/10).
- Install the most recent RDPWin update (3.0.1.01 or higher as of 2/22/10).
- Install Pervasive.
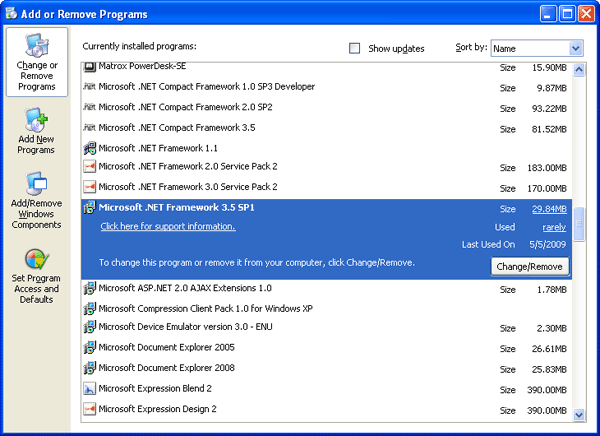
- Install .Net Framework 3.5. Do not remove Microsoft .Net 1.1 if it exists.
- Install the latest IRMNet update (IRMNet3.0.1.01exe as of 2/22/10 or higher) using the included default pathways (such as c:\irmsetup\IRMNet3.0.1.01.exe).
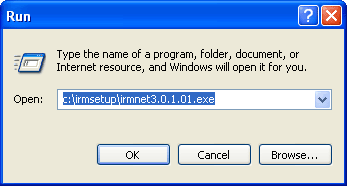
Click OK.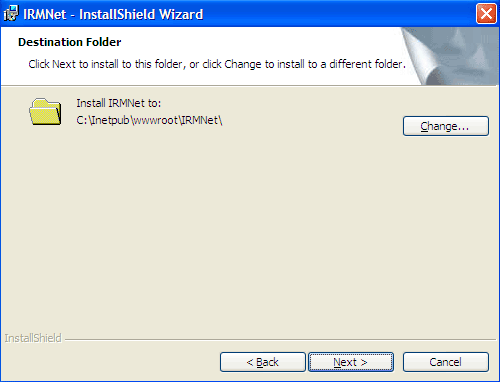
Click Next and then Finish when prompted. - Create the "IRMNetPath.txt" file. From the Start menu, select Run. Enter Notepad in the Open field, and click OK.
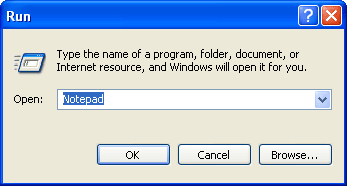
Type in the path of the dataserver and appropriate RDP directory such as RDP01. See Alternate Data Servers for information on how to use the IRM.Net with more than one data server.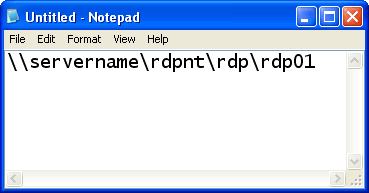
Save the file as IRMNetPath.txt in the following location: "C:\Program Files\ResortDataProcessing\IRMNet\. It may be necessary to create the IRMNet folder.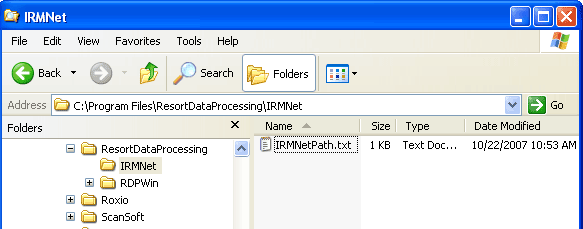
- Select Internet Information Services (IIS) from the Start/Settings/Control Panel/Administrative Tools menu. Right-click on the following virtual directories to confirm framework versions:
- Expand the local computer.
- Expand Websites.
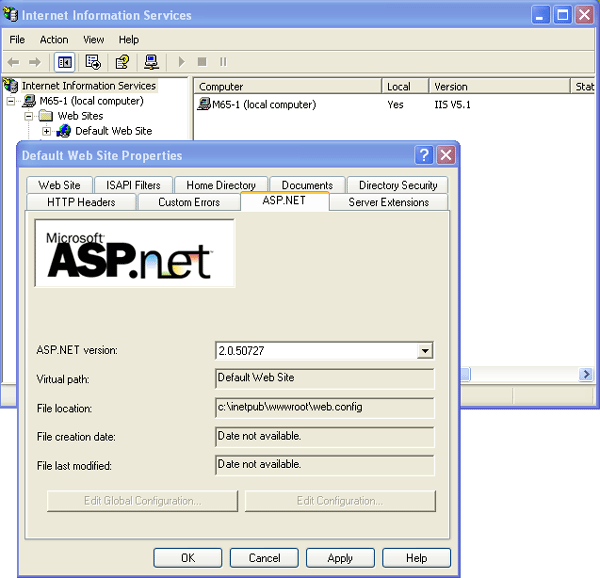
- Right-click Default Website and select Properties.
- Click the ASP.NET tab and verify or update the version to 2.0. If the version displayed is something other than 2.0.50727, click the drop-down arrow and change the Version to 2.0.50727.
- Select Internet Information Services (IIS) from the Start/Settings/Control Panel/Administrative Tools menu. Highlight the Internet Information Services to display the version information.
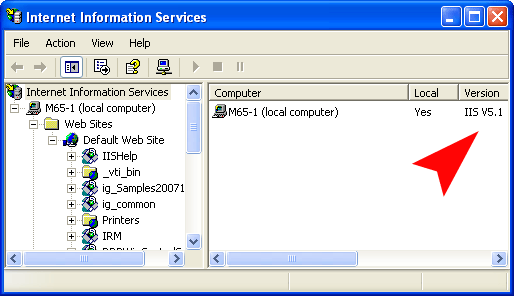
- The remaining steps are dependant on the IIS version.
-
- Start the IRM.net Monitor using http://localhost/irmnet/monitor.aspx.
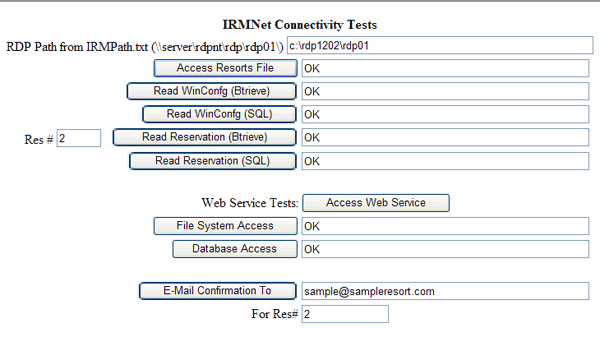
- Click the IRM.net Connectivity Tests link and perform tests as directed.
- Follow steps in RDP's IRM.Net Knowledge Base Article KINet0009 to enable HTTP Compression.
- Once all tests pass, start IRM.Net for Res or Owners (which ever is appropriate).
Configure RDPWin Monitor
- From the local, non-mapped relative drive on the data server, access c:\Program Files\ResortDataProcessing\RDPWin folder.
- Select Text Document from the File -> New main menu.
- Name the file "MonitorPath.txt".
- Double-click the MonitorPath.txt file to open the "MonitorPath.txt - Notepad" screen.
- Enter the correct path to be used (i.e., c:\rdpnt\rdp\rdp01).
- Select Save from the File main menu.
- From RDPWin, click Stop RDPWin Monitor (if already running).
- From RDPWin, click Start RDPWin Monitor. The first message in the RDPWin Monitor Log should display "RDPMonitor service started."
- Under Reporter -> Configuration -> Confirmation Settings tab, configure confirmations.
- Under Reporter -> Configuration -> Confirmation Associations tab, associate the New reservation type for with a confirmation to be used by RDPWin Monitor. Complete this for all possible Reservation Types.
- From System -> RDPWin Monitor -> Configuration, check the box for IRM and any other boxes that would apply.
- Follow Steps 1 - 3 of the Configure Monitor for Auto-Restart instructions found here.
Demo Mode vs. Secure Mode
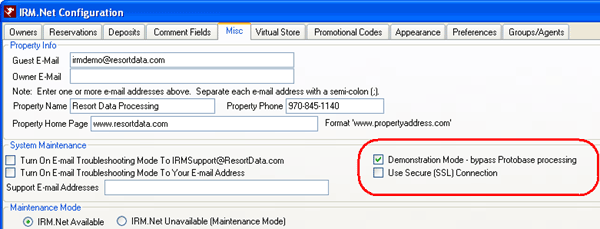
Since IRMNet requires an SSL certificate, the system assumes that this is installed and there is not a check box for this. The checkbox for Demonstration Mode is used for testing customer files. The Demonstration Mode bypasses credit card processing and the SSL certificate. The checkbox for Use Secure (SSL) Connection is used for testing an SSL certificate, and this checkbox is only available when Demonstration Mode is checked.
Upgrade Instructions
When upgrading the IRM.net version to 3.0.001.01 or higher, the following steps must be taken for the upgrade to be successful:
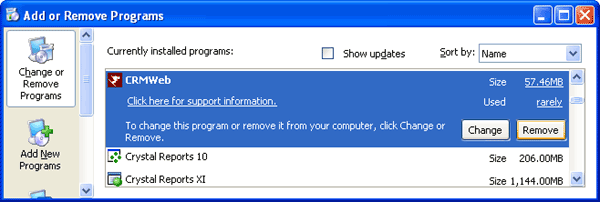
- Uninstall IRMNet/CRMWeb.
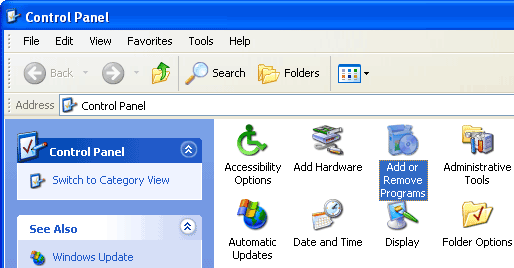
- Select Control Panel from the Start | Settings menu.
- Double-click Add or Remove Programs
- Select IRMNet from the list of programs and click the Remove button.
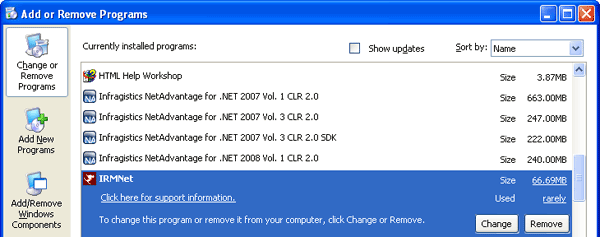
- Once the IRMNet is removed, follow the same steps to remove the CRMWeb.
- Delete the bin folder and web.config file under the respective product folders. Select Windows Explorer from the Start | Programs | Accessories submenu. Navigate to c:\inetpub\wwwroot\IRMNet\bin, right-click and click Delete.
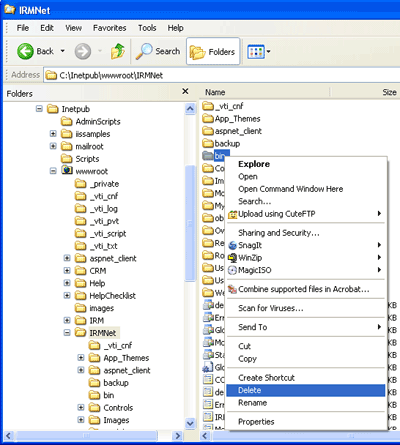
Using Windows Explorer from the Start | Programs | Accessories submenu, navigate to c:\inetpub\wwwroot\CRM\bin, right-click and click Delete. - Install the new IRMNet/CRMWeb as shown in First-time Installation steps above.
06/24/2010
Click these links for Frequently Asked Questions or Troubleshooting assistance.
© 1983-2009 Resort Data Processing, Inc. All rights reserved.