- Click here for Work Order tutorials
(Work Orders & Asset Management (RZ) module required.)
|
TOPICS |
|---|
| Add |
| Billing |
| Change |
| Configure |
| Delete |
| Find |
Monitor Work Orders
To view work orders of different status, use the Work Orders main menu to select from the submenu items: New, Open, Closed and Cancelled. From any monitor screen, filter by Status in Options to change the work orders displayed.
Definitions of Status
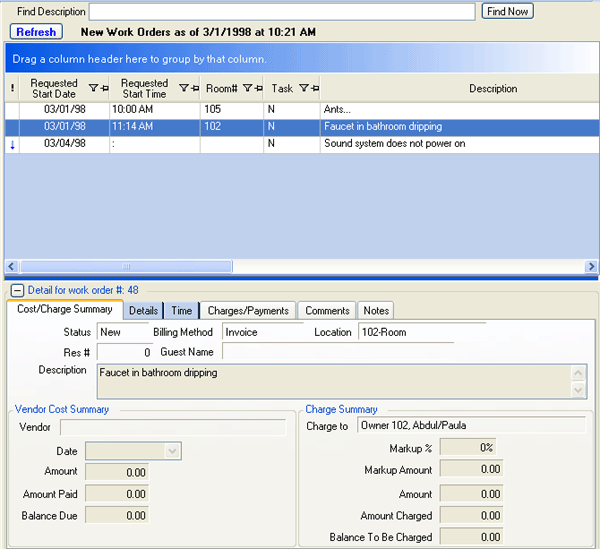
- New
- New work orders are those entered into the system without having a vendor assigned.
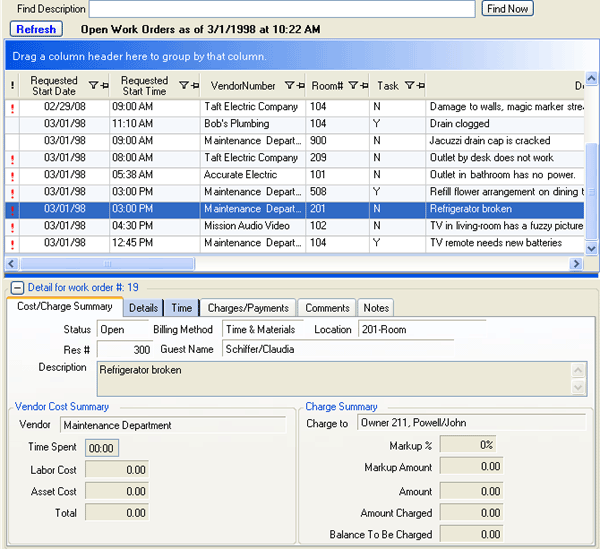
- Open
- Open work orders are those entered into the system with a vendor assigned to complete the work.
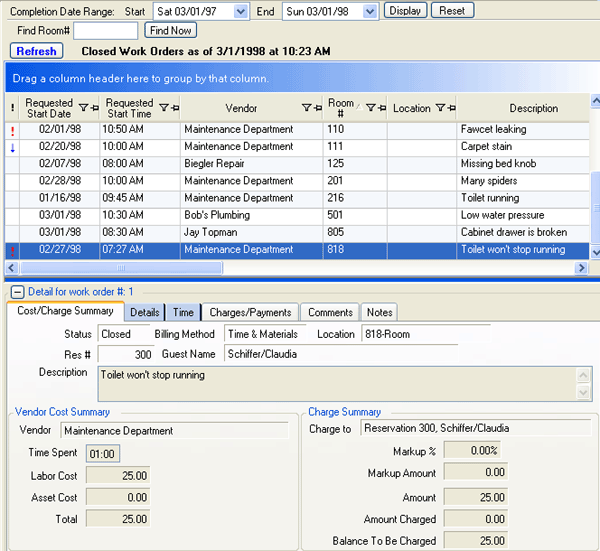
- Closed
- Closed work orders are those entered into the system with an assigned vendor who has completed the work.
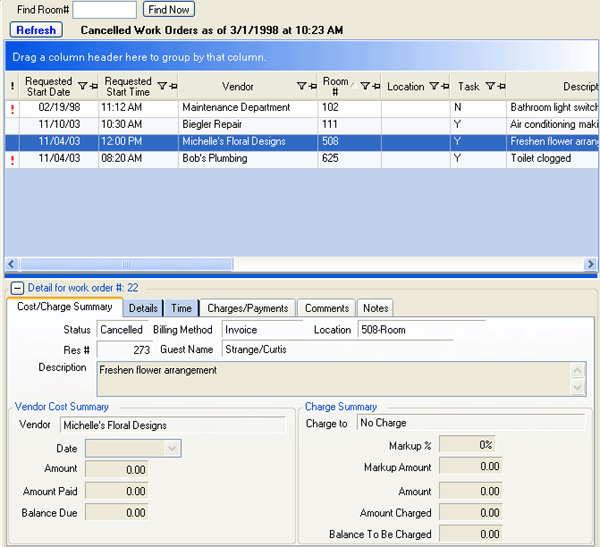
- Cancelled
- Cancelled work orders are those entered into the system with an assigned vendor that have been cancelled for whatever reason (item actually not broken, work order entered in error, etc.).
To cancel a work order, open the work order and change the
Status to Cancelled, then save.
Grid
The monitor grid displays the work orders based on Status and optionally by Vendor or Contact (selected from the Options menu). Fields available are Priority, Requested Start Date, Requested Start Time, Description, Request Type, Room Number, Location, Property, Reported (when), Access, Taken From, Reservation Number, Work Order ID (when Configuration is set to display this field), and System ID. Features of the monitor area are:
- Sort
- Information within each column by clicking the column header. The data toggles alphabetically based on the column clicked.
- Filter
- Separate out column information with the funnel icon. Filters can be individual or customized.
- Pin Headers into Permanent Position
- Click the thumbtack icon to lock it in place. When pinned, the pinned columns will always be visible when scrolling.
- Priority
- The column with the "!" in the header, follows the same standards that most e-mail programs follow today with "!" being a High priority, blank being the Normal priority, and "i" being the Low priority.
- Double-Click Editing
- Double-click any row within the monitor area to access the Work Order (Change) form. Without property security access, the Change form is displayed in read-only format. For more information, see Work Order (Change) below.
- Reordering
- Click and drag the column to the desired location, and pin it into place using the push-pin icon. Settings are saved based upon the user logon.
Tabs
When a work order is highlighted in the grid, the specific details are displayed below in tab form. Tabs available for viewing are: Details, Time, Charges/Payments, Comments, and Notes. These tabs are read-only until a work order is opened. To change information, double-click the work order or highlight and click Change Work Order from Options.
Navigation
Use the Navigation menu to access Find, Add, Bill Owners (Module R3 required), View Unpaid/Uncharged, Vendors, Assets, and Configuration functions.
Options
Use the Options menu to select the type and/or status of work orders displayed in the Monitor. When viewing Open, Closed, or Cancelled work orders with vendors assigned, use the Vendor drop-down to display only those work orders assigned to the selected vendor. When a vendor is specified, use the Contact drop-down to display only work orders assigned to the selected vendor and contact. Additional options are Add, Change, Copy and Post Charge which open the appropriate screen for the selected work order.
- Copy Work Orders and Tasks
- When a work order must be performed on multiple rooms, select the work
order in the monitor, right-click, and select "Copy Selected Work Order".
The Work Order (Change) screen opens to allow entry or change for the
different rooms. Change any detail needed, including the Location,
Vendor, and billing information.
For example: if a task requests that an item be delivered to a room for a particular stay but must be removed at a later date, create a task for the delivery, then copy the task to request the item to be picked up. Enter a new description "pick-up item" on the details tab, enter a new vendor (since the same employee or outside vendor may not be on the work schedule for the pick-up), date, and time information on the Status tab, and Save. Click Save or Save & Close when complete. The original work order remains unchanged while the new work order is added to the monitor. - Delete Work Orders and Tasks
- Right-click any work order in the Monitor and select Delete Selected Row to remove the work order from the system.
Select Yes from the prompt to complete the process.
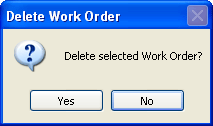
Warning: this removes the work order completely from the system. When ever possible, RDP suggests cancelling work orders instead of deleting them to maintain the integrity of the data.
Click these links for Frequently Asked Questions or Troubleshooting assistance.
04/15/2009
© 1983-2009 Resort Data Processing, Inc. All rights reserved.