Click here for How Tos
Travel Agent Statements
Travel Agent statements cannot be generated until the Process Commissions is run.
How to Generate Agent Statements
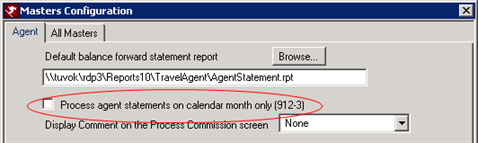
- In RDPWin, go to the Masters menu --> Travel Agents --> Configuration --> Agents tab.
- Verify the Process Agent Statements on Calendar Month Only switch is set correctly. If checked, the agent statements will be processed for the end of the previous month only. If unchecked, the option to select the date for which to process through is available.
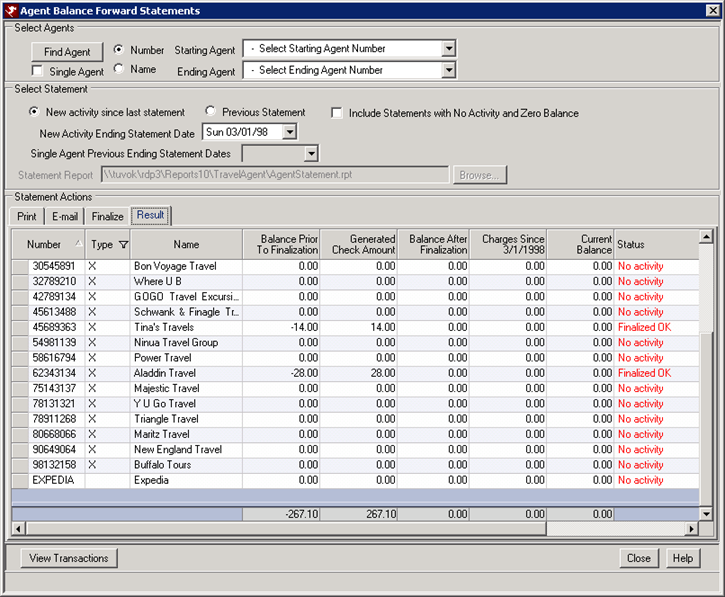
- Go to the Masters main menu --> Travel Agents --> Agent Statements.
- Select the agents(s) to close.
- One agent : check the Single Agent box and select the agent from the Starting Agent Number drop down.
- Range of agents: choose the Starting and Ending Agent Number in the range.
- All agents: leave the Starting Agent and Ending Agent field with the Select Starting Agent Number.
- Select the option for New Activity Since Last Statement.
- If the Process Agent Statements on Calendar Month Only switch is unchecked from step 2, select the date for which to close the statements through. If the switch is set to Calendar Month Only, the last date of the previous month will display.
- Verify the correct statement report is listed in the Statement Report field. If it is not, click the Browse button and to find the correct statement report.
- To preview the statement reports, click the Print All Statements or Preview One Statement buttons.
- If any corrections are needed to the statements, do so before finalizing.
- Click the Finalize tab.
- If closing the statements are paying the agents for their commissions, check the box Generate Check if Balance Due. If printing checks out of RDP, check the box for Place Check in Print Queue.
- Click the Review button. Verify that balance amounts are correct and the status is Will Finalize Ok.
- Click the Finalize All Statements button. Click Yes to continue.
- Click back to the Print tab.
- Select the option for Previous Statement, since the statements were just closed.
- To print the statements, click the Print All Statements button.
- To email statements, click the Email tab. Enter something into the Body Text field.
Click these links for Frequently Asked Questions or Troubleshooting assistance.
Last Updated 09/20/2012