Configure Tickets for Activities
A customized ticket can be designed for each activity vendor master. Use Crystal Reports to design the ticket and assign it to the vendor master account. For steps on how to configure activities, seeSee "How To - Configure Activities and IRM's Virtual Store"
- Using Crystal Reports, create a new report or use an existing ticket report, such as TicketByActivityNum from the Vendor folder as a template.
- Verify the parameter 'ActivtyNum' exists on the report. This necessary for the report to function properly.
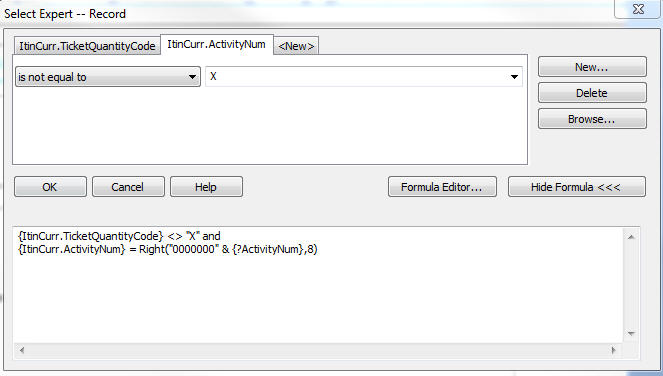
- Open the Select Expert and verify the following formula exists for the ItinCurr.ActivityNum record:
{ItinCurr.TicketQuantityCode} <> "X" and{ItinCurr.ActivityNum} = Right("0000000" & {?ActivityNum},8)

- Save the report and make note of the file name, as it will be used in step 15.
- In RDPWin, go to the System menu --> Table Maintenance --> select the H0 - RDP Report Writer Form Code Definitions table --> click the Display.
- Click the Add Subrecord button.
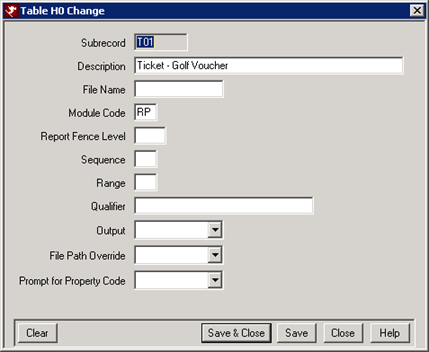
- Enter the Subrecord (expample: 'T01').
- Enter the description for the ticket in the Description field.
- In the Module Code field, enter 'RP'.
- Save & Close.

- From the Table drop down, select the HR - Crystal Report Listing table.
- Click the Add Subrecord button.
- In the Subrecord field, enter the same record that was entered in the H0 Table plus add the letter 'S' to the end (example: 'T01S').
- In the Report Folder field, enter the folder name of where the Crystal Report was saved, such as VENDOR.
- In the Report Name field, enter the name of the Crystal Report saved in step 4.
- Save & Close.

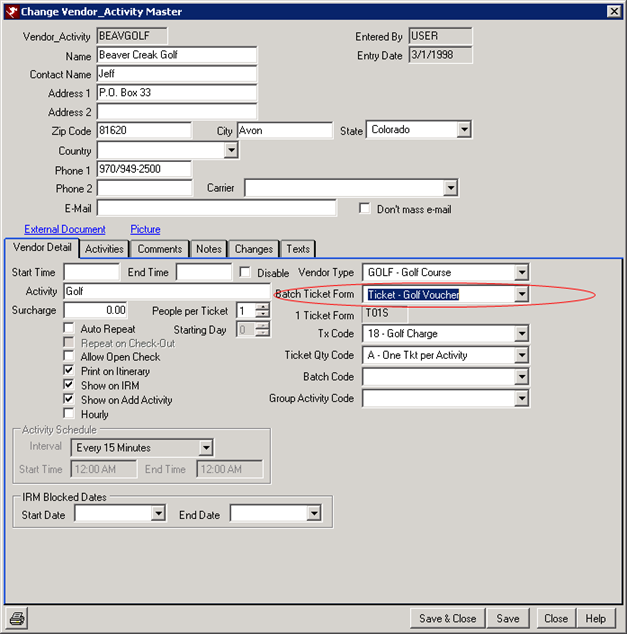
- Go to the Masters menu --> Activity Vendors --> find the appropriate vendor.
- In the Batch Ticket Form field, select the ticket created from the drop down. When tickets are printed for this vendor, the customized ticket should print.

Click here for the How to Index.
Click these links for Frequently Asked Questions or Troubleshooting assistance.
Last Updated 07/23/2012