Click here for Work Order tutorials
(Only available if the Work Orders & Asset Management (RZ) module is installed.)
|
CONFIGURATION TABS |
|
|---|---|
| Asset Type | Options |
| Contact Type | Phone Type |
| E-mail Configuration | Request Type |
| E-mail Type | Taken From |
| Location | Vendor Type |
Overview
Configure and setup how the system works and define the pick list information for the user definable drop-downs. If any configuration settings are directly connected to a system switch, that switch number is displayed on the Configuration screen. Configuration can be accessed using the Navigation menu, the Main Menu, or the Navigation page.
Asset Type
Review and maintain the list of asset types (definable by property) such as carpeting, flooring, etc. Use the "Add Asset Type" button to add another row to the grid. Type in the new description (saved in uppercase regardless of how it is entered) and click Save.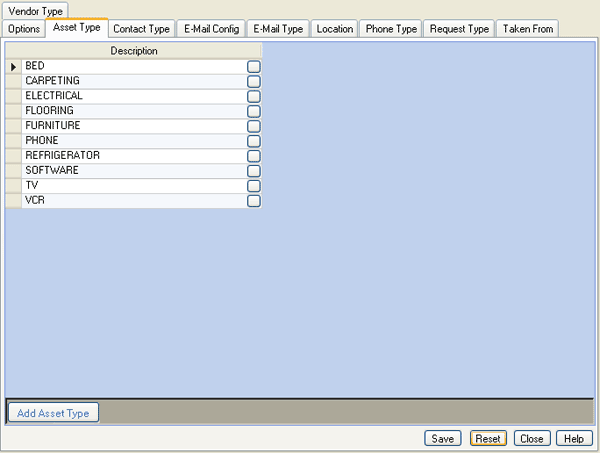
Contact Type
Review and maintain the list of contact types within each vendor such as staff, management, accounts payable, etc. When assigned, contacts can be grouped by type. Click the "Add Contact Type" button to add another row to the grid. Type in the new description (saved in uppercase regardless of how it is entered) and click Save.
E-Mail Configuration
Review and maintain system-wide settings for sending e-mails. See Reporter Configuration for details on fields available.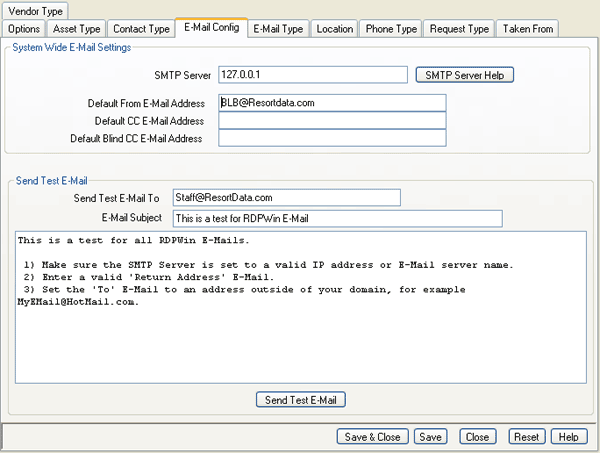
E-Mail Type
Review and maintain the list of e-mail types used on the Vendor and Contact entry/change screens (i.e., business or home). Click the "Add E-Mail Type" button to add a row to the grid. Type in the new description (saved in uppercase regardless of how it is entered) and click Save. To enable sending e-mails as plain text to a cell phone number (perhaps used by maintenance personnel), create an e-mail type "plain text message". See
e-mailing work order notifications for more information.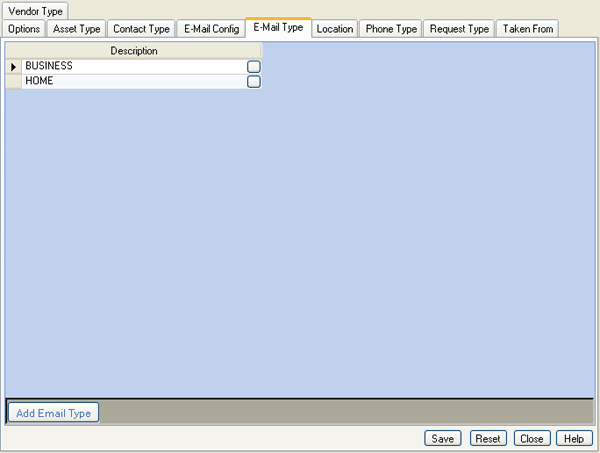
Location
Review and maintain the list of locations (room masters not required) within the property. The location is part of the work order request entry process and indicates where in the property maintenance is needed such as the pool, main lobby, garden bungalows, tower suites, etc. This list in not intended to house or describe room numbers. Location descriptions and property identification are definable. Click the "Add Location" button to add a row to the grid. Type in the new description (saved in uppercase regardless of how it is entered) and click Save.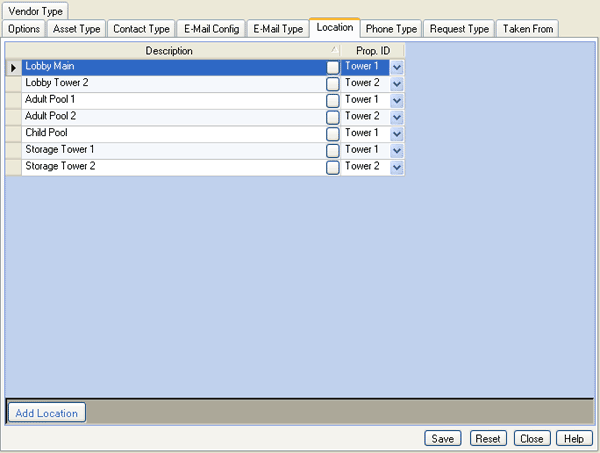
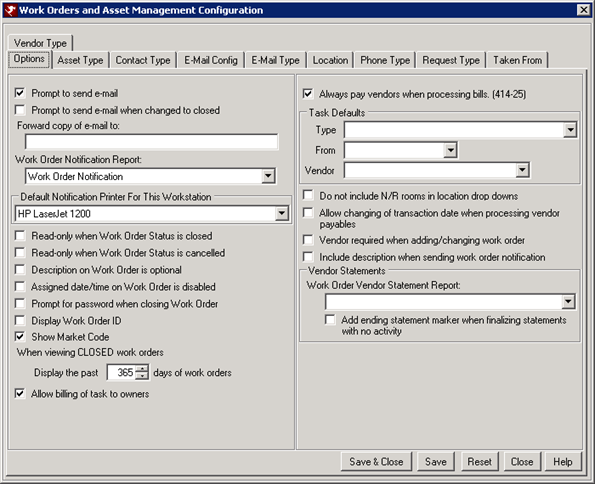
Options
- Refresh Monitor Every...
- Configure the number of minutes between refreshing of the monitor. The interval can be set to any value between 1 (default setting) and 60 minutes or disabled by setting the interval to 0.
- Prompt to Send E-mail
- When checked, the system prompts to send an electronic notification to the assigned vendor when a work order is changed. For properties with owners, the prompt also allows for an e-mail to be sent to an owner and other contacts.
- Prompt to Send E-mail When Changed to Closed
- When checked, the system prompts to send an electronic notification when the work order status is closed. For properties with owners, the prompt also allows for an e-mail to be sent to an owner and contacts.
- Forward Copy of E-mail To:
- Send a copy of all electronic notifications regarding work orders to the internal e-mail address entered in this text box (i.e., the maintenance manager or property manager). This is a "bcc" or blind carbon copy, so the sender and receiver of any e-mails is not informed of this extra copy.
- Work Order Notification Report
- Select the from the drop-down list to indicate which report, if any, is attached when electronic notifications are sent out.
- Default Notification Printer For This Work Station
- Select an available printer to where all notification reports shall be printed by default such as a printer in the maintenance administrative offices. The system default is set to use the work station default printer.
- Read-Only When Work Order Status is Closed
- Check to disable the ability to change work order information when viewing closed work orders. This is a global setting and not based on individual logons.
-
System Administrator Note: If there are minimal users on the system with access to work orders, do not check this box. Simply restrict others using security levels.
- Read-only When Work Order Status is Cancelled
- When checked, cancelled work orders cannot be changed.
- Description on Work Order is Optional
- When checked, the Description field is optional when adding and changing work orders.
- Assigned Date/Time on Work Order is Disabled
- When checked, the Assigned Date/Time on an Open or Closed Work Order is no longer available and users from changing the Assigned Date/Time after assignment. This is a management security feature.
- Prompt for Password When Closing Work Order
- When checked, the system prompts for the RDP user password before allowing the work order to be closed. Once entered, the user's logon is stamped into the "Closed By" field. By default, this option is not checked and can be set on a per user or per RDP directory basis.
- Display Work Order ID
- When checked, the Monitor grid and the Work Order Add/Change forms include the Work Order ID field. The system default is unchecked.
- Show Market Code
- When checked, the Market Code field is displayed on the Work Order Add/Change forms and the Monitor screen. This is custom programming created specifically for one customer to display property codes. All other customers with multiple properties should use the Property Code to identify buildings or property names. The Property Code is not displayed on the Work Order Add/Change forms or the Monitor screen; however, it does display and print on reports where appropriate. The default setting for this is unchecked, which is appropriate for most customers.
- When Viewing CLOSED Work Orders, Display the Past Number Days of Work Orders
- Set to 365 by default, properties with a large number of work orders should reduce this setting so the closed work order list only fetches a subset of the data. This increases the performance when viewing closed work orders.
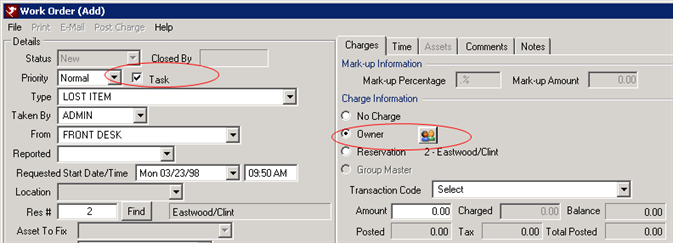
- Allow Billing of Tasks to Owners
- When the Allow Billing of Task to Owner box is checked, the owner can be billed for the charges associated with that task. A radio button for Owner is included on the Charges tab of the Task. Select Owner and choose the transaction code in order to bill the owner for tasks completed in their unit.
-
- Always Pay Vendor When Processing Bill
- When checked and processing bills, the Process Vendor Payable Now checkbox is checked by default.
- Task Defaults
- Specify the default values for the Type, From, and Vendor when a task is added to a reservation.
-
- From
- Select the default "Taken From" location assigned to tasks when added to a reservation. This drop-down contains the types configured on the Taken From tab.
- Type
- Select the default "Request Type" assigned to tasks when added to a reservation. This drop-down contains the types configured on the Request Type tab.
- Vendor
- Select default the vendor name assigned to the task by default when added to a reservation. This drop-down contains the vendors from the List. Since tasks are performed onsite such as "deliver rollaway to current room", indicating the onsite maintenance crew is a helpful setting.
- Do Not Include N/R Rooms in Location Drop-Downs
- When checked, all non-rental (N/R) rooms are removed from the Location drop-downs on the Work Order (Add) and (Change) screens as well as the asset screens.
- Allow Changing of Transaction Date When Processing Vendor Payables
- When checked, the Transaction Date column is available on the Work Order | Vendors | Process Payables screen after the Display button is clicked.
- Vendor Required When Adding/Changing Work Order
- When checked, the Vendor field is required when adding or changing a work order. When not checked, the field is optional.
- Include Description When Sending Work Order Notification
- When checked, the contents of the Description field on the work order are sent in the notification. When not checked, the Description field is not included.
- Work Order Vendor Statement Report
- Select from the drop-down the default report to be used when processing the Vendor Statements. Other reports can be selected; this merely sets the default.
- Add Ending Statement Marker When Finalizing Statements w/o Activity
- When checked, a "D@" transaction is created when a statement with no activity is finalized. When not checked, the "D@" transaction is not created; and therefore, a previous statement cannot be printed. Only a new statement can be printed which shows the "For Review Only" message.
Phone Type
Review and maintain the list of user-definable phone number types (i.e., business, home, fax, cell, etc.). Click the "Add Phone Type" button to create an additional row to the grid. Type in the new description (saved in uppercase regardless of entry) and click Save.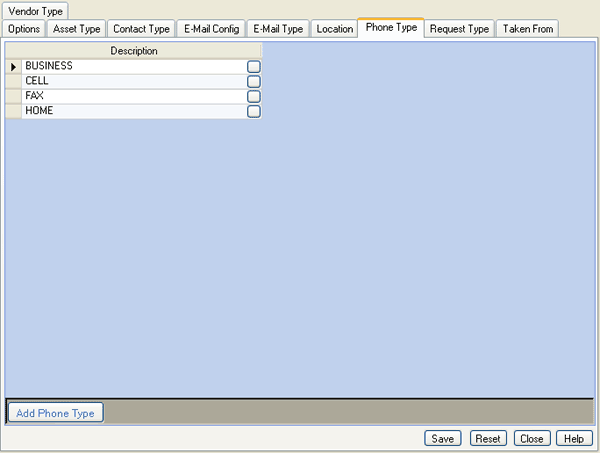
Request Type
Review and maintain the list of user-definable categories available for inputting a work order request (i.e., repair, electrical, maintenance, or replacement). Click the "Add Request Type" button to create an additional row in the grid. Type in the new description (saved in uppercase regardless of entry) and click Save.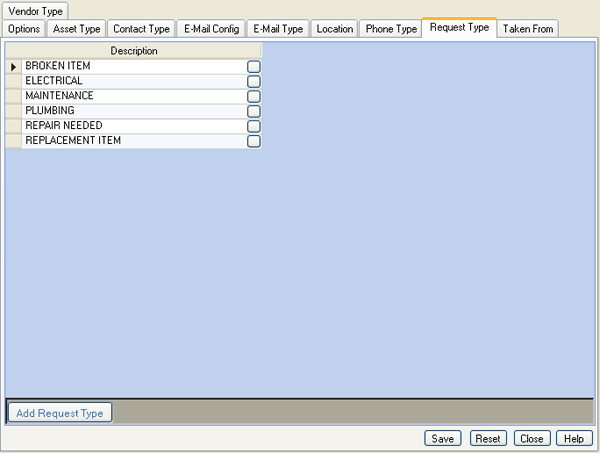
Taken From
Review and maintain the list of user-definable types of individuals that may place a work order request (i.e., housekeeping, maintenance, front desk, guest). Click the "Add Taken From" button to create an additional row in the grid. Type in the new description (saved in uppercase regardless of entry) and click Save.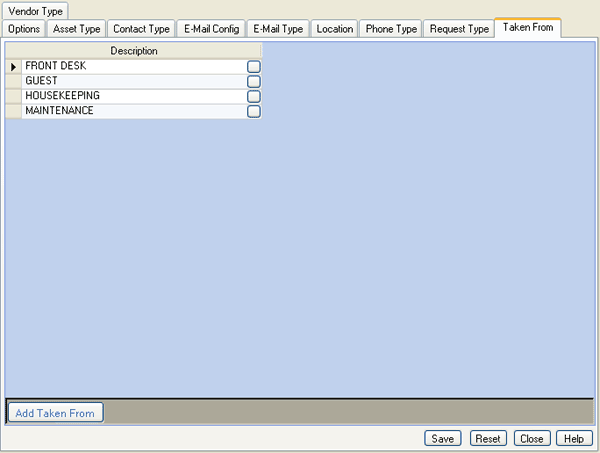
Vendor Type
Review and maintain the list of user-definable types of vendors that the property may use to outsource a work order (i.e., tv repair, carpet installers, plumbers, housekeeping, etc.). Click the "Add Vendor Type" button to create an additional row in the grid. Type in the new description (saved in uppercase regardless of entry) and click Save.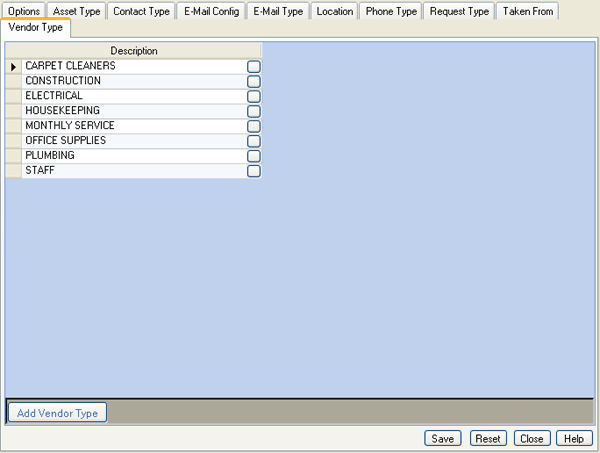
Save, Reset, and Close
Click here for instruction on how to Save, Reset, and Close forms.
Click these links for Frequently Asked Questions or Troubleshooting assistance.
04/23/2012
© 1983-2012 Resort Data Processing, Inc. All rights reserved.