- Click here for Work Orders & Asset Management Tutorials.
Work Orders & Asset Management (RZ) module required.
Add Tasks
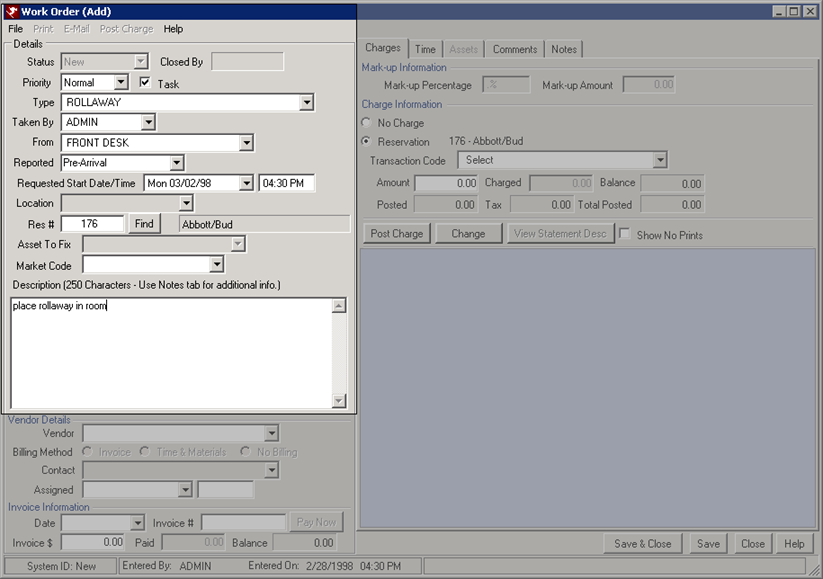
- In RDPWin, go to the Work Orders main menu --> Add Work Order.
- Select the priority from the Priority drop down.
- Check the Tasks box next to the Priority field.
- Select the task category from the Type drop down.
- The Taken By field will populate the with logon name of the user logged in. Change this is if needed.
- In the From field, select the who is requesting the task.
- In the Reported field, select when the task was reported, Check-in, Check-out, During Stay, Pre-Arrival, or Owner Request.
- If the task should begin a specified date in the future, enter that date and time. If not, the system will default to the current date and time.
- Enter the reservation number for the task or click the Find button to search for the guest.
- If the Requested Start Date is different than the reservation's arrival date, a prompt appears to change the requested start date to the arrival.
- Enter the description of the work order in the Description field.
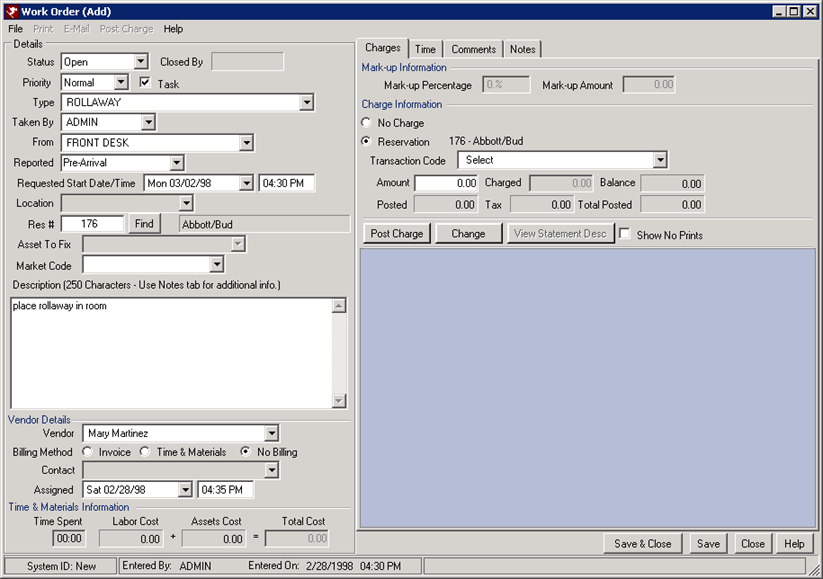
The remaining steps are optional. Note: If the task is not assigned a Vendor, it can found in the Work Order Monitor under New tasks. Once is it assigned a Vendor, the task can be found in the Work Order Monitor under Open tasks.
- If assigning the task, select the vendor from the Vendor drop down.
- If billing the task, select the billing method. The default is configured on the Vendor Master. The Invoice radio button allows an invoice number and invoice amount to added to the task. This can be billed to the owner or reservation. Payables to the vendor can be generated for invoices. If Time and Materials is selected, the amount of time and price of materials can be entered to bill to the owner or reservation. The hourly rate can be calculated based on the amount of time and hourly rate of the vendor.
- If the Vendor has a contact that should be assigned to the task, select the Contact from the drop down.
- Enter the Assigned Date and Time if different than the current date and time.
- Enter any additional notes or comments on the task from the appropriate tabs.
- Save and Close.
Click these links for Frequently Asked Questions or Troubleshooting assistance.
Last Updated 3/26/2012